In this article, we guide you through some nifty functions in Alipay:
- Setting up weekly or monthly recurring payments with Alipay.
- Setting up scheduled one-time payments with Alipay.
- Setting up one-time or recurring payment reminders with Alipay.
*KEY UPDATE (2023/11): Alipay’s most recent versions only show these functions if the app language is set to Chinese. Here’s how to switch the language over first so that you can follow along with the rest of the article:
- Once on the home screen on Alipay, press the ‘Me’ menu icon on the bottom right.
- Click the ‘Settings’ icon on the top right of the next screen. It looks like a gear.
- From the settings menu press ‘General’, then ‘Language’ on the following screen.
- Choose the first option, ‘简本中文’. Now you’re ready to start with the payments tutorial in this article!
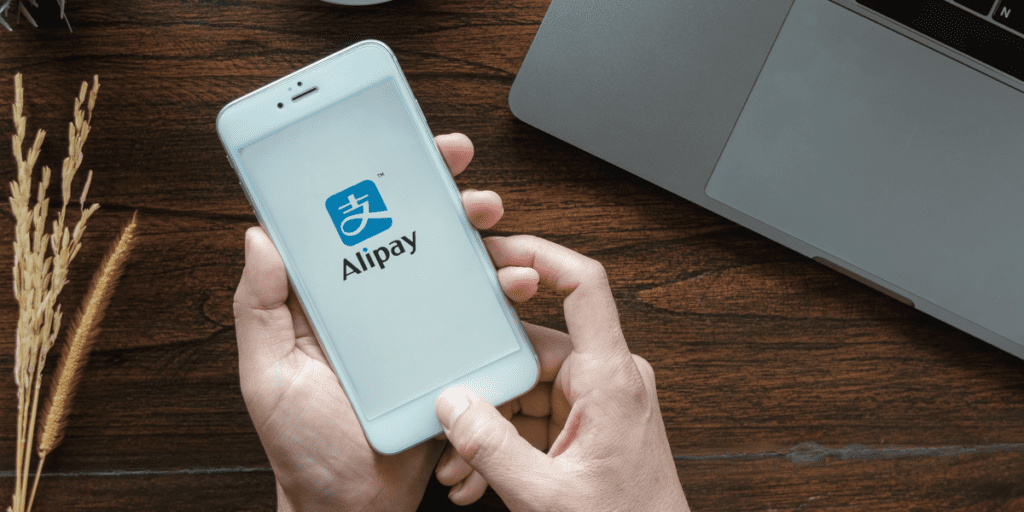
So let’s dive in! We’ll start by firing up Alipay and finding the 'Transfer' icon.
This should be located in your App area near the top of the home screen. If you do not see it, click ‘More’ (4 grey circles icon) and you should be able to find it in the expanded app screen.

On the next screen press the central dropdown arrow to reveal more options for transfers.
After the dropdown expands you will see a calendar icon with ‘Sched’ as the label, press it!


This 'Sched' tool is the key to all of the use cases outlined above.
The next screen is an introduction screen with several use cases featured (family payments, holidays, loan payments, rent, and bank deposits).
Pressing the blue button ‘设置预约转账’ (Set up scheduled transfers) allows us to schedule one time or recurring payments.
Pressing the white button ‘仅提醒我’ (only remind me) allows us to schedule one time or recurring reminders, or notifications from Alipay.
The process for setting up a payment vs reminder is the same aside from a password check for payments.

Using the Schedule Tool in Alipay
Now we’re going to walk through how to set up a recurring payment from here:
- Press the blue ‘设置预约转账’ button to continue to the next screen.
- At the top, choose the payee account type – the options are ‘转到支付宝’ (Send to an Alipay account), or ‘转到银行卡’ (Send to a bank card).

Choosing Payment Details
- Press next to the blue head and shoulders icon to choose the Alipay account you’d like to transfer scheduled payments to. You can select from recent contacts and also search by phone #, email, or name. (Note: ExpatInvest’s own Alipay email: payments@expatinvest.co)
- Press next to the currency sign ‘¥’ to enter the amount you’d like to send each time. This will be either a monthly, weekly, or one-time amount. We’ll choose which one on the next screen.
- Finally, you’ll see ‘转账说明’ (transfer instructions). You can add a note for the recipient here. If you are setting up automated payments to ExpatInvest, we ask that you write the name of the fund here (example pictured in photo).
- Once this screen looks good, press the blue button ‘去设置日期’ (Go set dates) to continue!

- The first option on the next page is ‘转账次数’ (number of transfers), and has us choosing between ‘单次’ (one time) and 多次 (multiple times). For recurring payments, we’ll choose ‘多次’.
- The next line ‘转账日期’ (transfer date) allows us to choose the schedule. Once we press this line, we get a menu that lets us choose 每周 (weekly) and the day of the week (周一/Monday – 周日/Sunday), or 每月 (monthly) payments and the date of the month (1日/1st – 28日/28th).


- A third editable line in this section appears if we selected ‘多次’ (multiple times). Pressing ‘截止日期’ (expiration date) allows us to choose which day we want the last payment to occur, or choose ’不限’ (unlimited) to keep the scheduled payment ongoing. Note: You can come back in and cancel scheduled payments at any time.

- From there press the radio circle next to ‘同意’ to agree to the terms, and then the bottom blue button ‘创建预约转账’ (Create scheduled transfers) to continue.
- After a quick security check, we’re all set! We have a nice confirmation screen with our details, including when the next scheduled payment is going to occur. The two options at the bottom will let us go to our records overview page ‘查看我的预约记录’ (View My Appointment History) and delete the payment altogether ‘删除预约’ (delete appointment).
For the example pictured today, I've chosen to send ¥ 5,000 on the 20th of every month ongoing. I left a note 'CSI 300 Enhanced' that the receiver will see every time the scheduled payment is sent.

Any time we go back and press the ‘Sched’ calendar icon from the Transfers page, we will be greeted with a nice list of scheduled payments set.

And there you have it! Remember, you can set up all of these functions by choosing different options within Alipay’s Schedule tool:
- Schedule payment reminders/notifications.
- Schedule one-time payments for the future.
- Schedule weekly or monthly recurring payments ongoing.
- Schedule weekly or monthly recurring payments with an end date.
Share this article: